It was almost too perfect – the day I went to the Cancer Hope Network office for a meeting and had enough time to stop at Joann Fabrics (which is a short ways away). And saw this…

And of course, I had to buy that with this…
For a full background, my name is Lindsay Tasher. I have been involved in Cancer Hope Network since I was in high school. My first memory of participating stems back to volunteering at the Gala when I was sixteen. Fast forward many, many, [okay I’ll add one last many] years later, and I am now approaching my tenth year as a member of the Board of Trustees (which included a stint as General Counsel for the organization and current Co-Chair of the Marketing Committee). In short, it is nearly impossible to recall a time when Cancer Hope Network was not a huge part of my life – or a time in my life when cancer has not impacted a family member or a close friend of mine. This is me, standing outside a place that will make a lot more sense in a minute:

Over the past year, our board has worked tremendously hard to expand our mission and our outreach to make sure that everyone who wants to make a difference in the fight against cancer can do so. – because we have ALL been fighting cancer in some way throughout our lives – even if it’s as simple as taking a friend to dinner while her Mom is undergoing treatment, doing a 5K, attending a Gala, or tapping into our creative souls and… QUILTING FOR HOPE (now the above picture should make sense – it is my favorite quilting shop in Vermont).
This year, a lucky auction winner at the Chrysalis Gala will take home a Hope Quilt made from this beautiful blue, pink, and white fabric. For anyone who has never quilted before (which, as of a year ago, included me), it is one of the most rewarding, relaxing ways to be creative and, more importantly, give something incredibly special to a person who needs it.
Making this quilt, especially for an organization that means so much to my family and me, reminded me why Cancer Hope Network’s mission to provide hope and support is such an important one. Having spent time with our amazing volunteers and staff over the years, these are people who inspire others every day – mainly by telling them they, too, will get through this, and providing advice and similar experiences. And I hope that sharing this quilting process will provide some similar, even if small pieces of inspiration for anyone who needs it!
The Planning Process
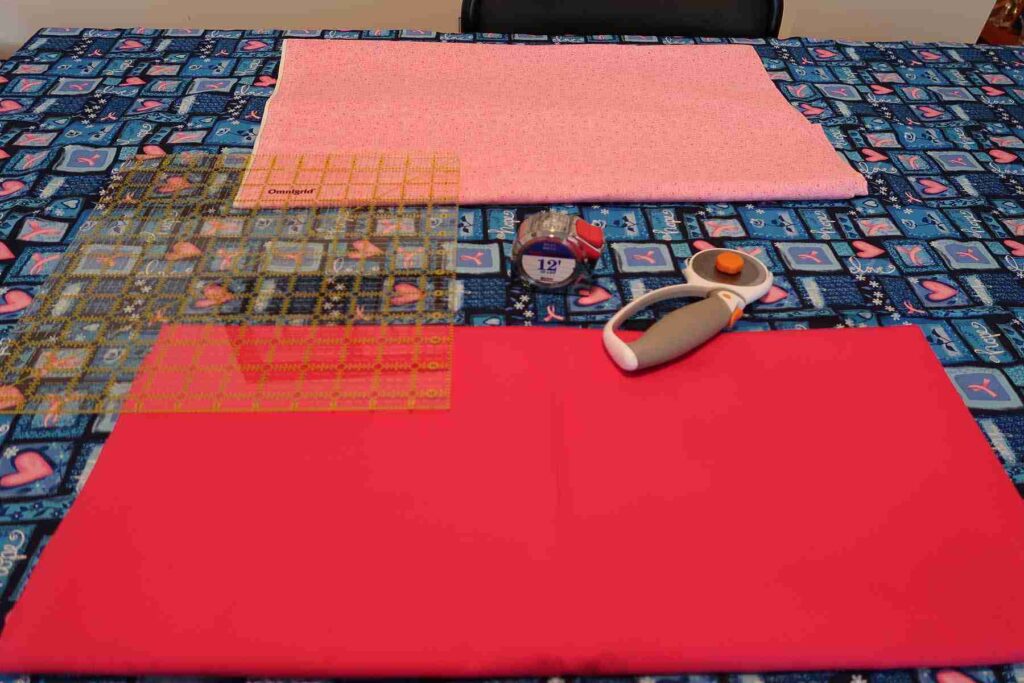
Yes, there is a lot of planning. You absolutely without a doubt have to plan for your quilt. How big/small (in feet/inches), how much fabric you will need, and how involved the design will be.

Take your time. It is okay to go slowly. Draw lots of different designs. Use different colors. Have fun. And you don’t have to set it all up in the same day. Take breaks. Talk to people and see what they like. It will all get finished – don’t rush. But you do need to draw out your map and your measurements, because without a gameplan, you won’t have a foundation to come back to when it’s time to cut and put all your pieces together. And there will be a lot of pieces. See?

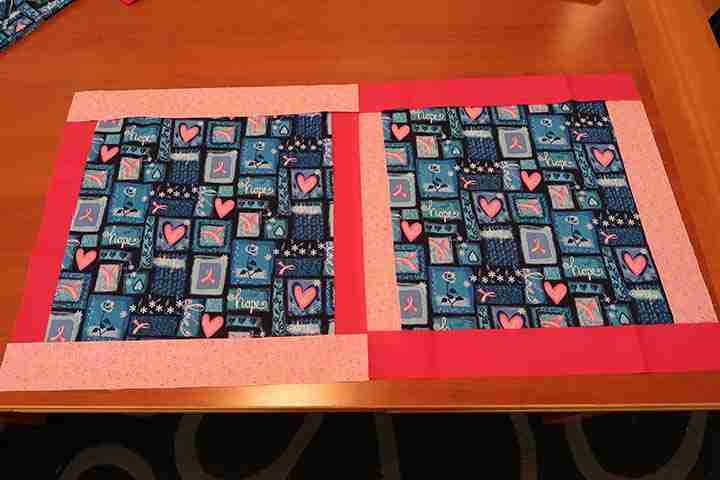
The Layout Process
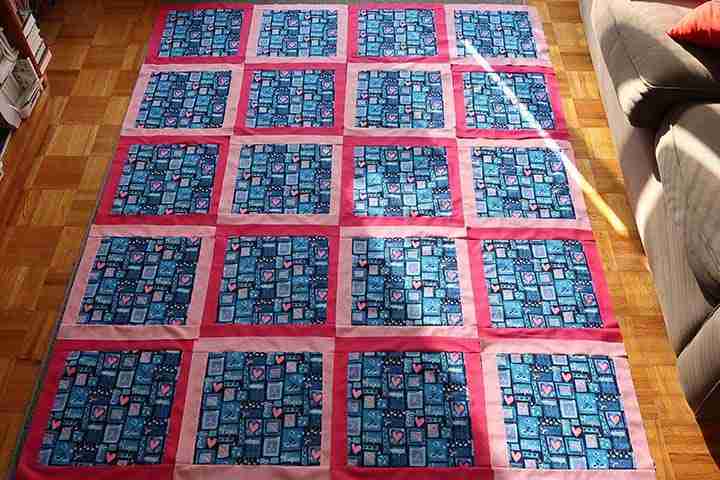
Enjoy your layout process. It’s okay to treat your quilt like a big, fun puzzle. It may be that you envision one way of setting up the pieces, but after a few “layouts” you want to go with a different one. That is 100% more than okay – laid out plans don’t always go as you expected. Roll with it. Because is there is no “wrong” design for your quilt. It’s yours.
And yes, it is always okay when no one is looking to stand on your dining room table to take the final picture of your layout.
The Pinning Process
This is actually my least favorite part of quilting. But then again, there will always be those “least favorite” or even downright lousy days. And you get through them.
This is quilt “batting,” by the way.

If you think of a quilt like a sandwich, the batting is the middle layer that goes between your designed beautiful top and the bottom layer (which is usually a bedsheet). For my bottom layer, I generally find a nice queen-sized sheet and cut to fit accordingly.
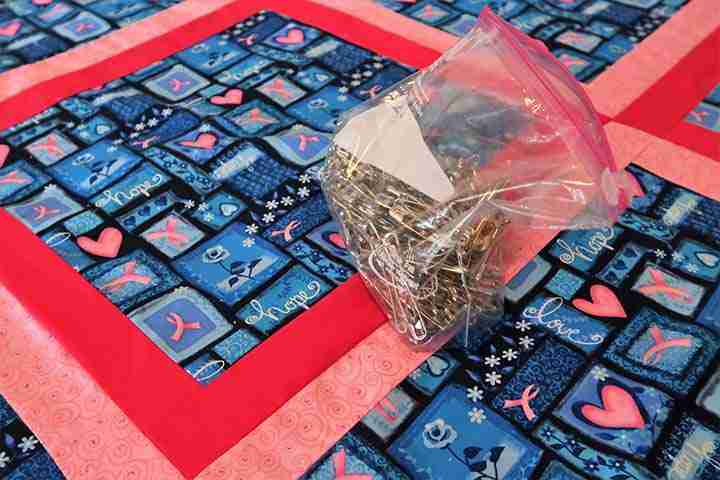
And even if you don’t like the pinning process, there’s always a silver lining – like when you have the opportunity to take a photo that looks like this:
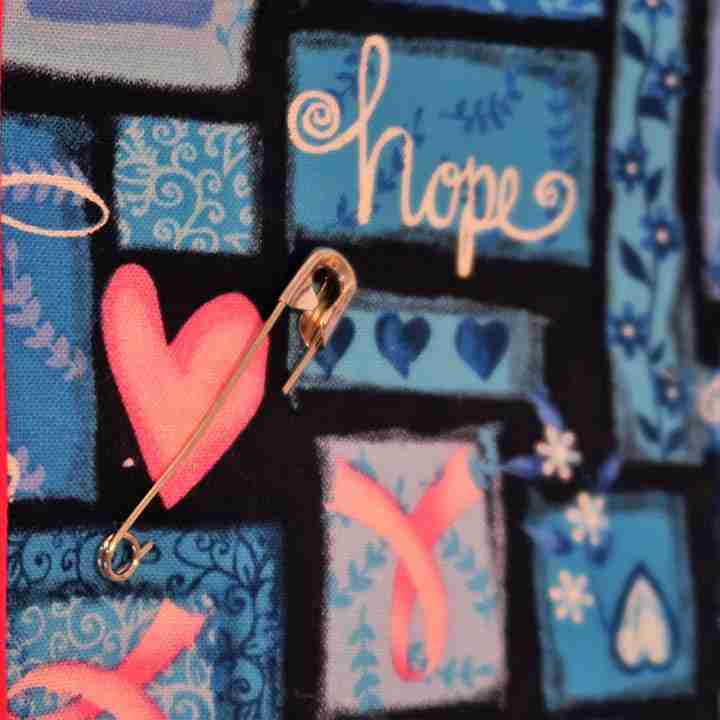
And here it is: the pieced together, laid out, pinned quilt, ready for the fun part.

Stay tuned for Part II – when we reveal the “quilting” process (you didn’t think we were going to give away the surprise all at once, did you?).