Welcome back all, for one last trip around our quilt diameter!!!
When we last left each other, we had just finished “quilting” – a/k/a securing the three layers of the sandwich together – our Hope Quilt.
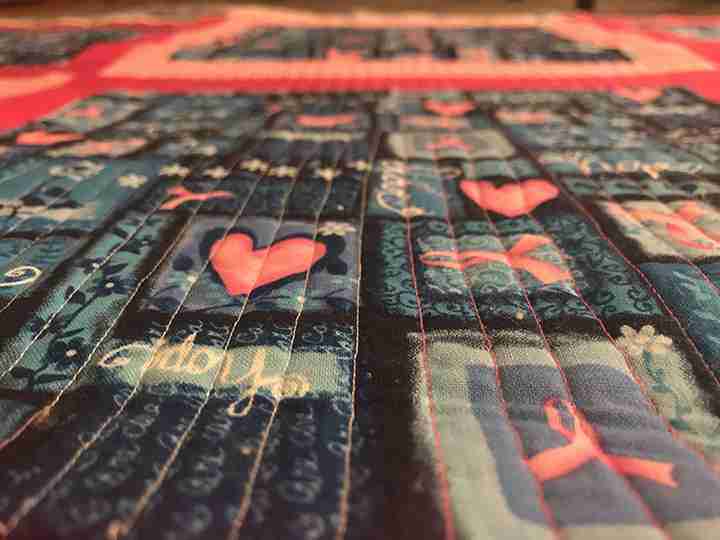
Now all that’s left is binding and finishing!!!
The binding process is fun, but it is honestly (at least in my opinion), the hardest part, involving precision cutting and careful sewing when your quilt is at its heaviest/bulkiest.
There are two main ways to bind a quilt – using the back sheet and folding it over/sewing it down over the front, or (as I’m doing here), cutting binding strips, sewing those together, and then attaching them to/around the entire edge of your quilt in one large “strip” – in my case, sewing it down onto the back and bringing it around to the front for one last sew-around. This involves the following:
- Cut your binding strips. Pick a color/fabric that works with your quilt – in my case, I just used the fabric that remained when I downsized my backsheet to fit the surface area of the quilt.
- Width rule: You can cut your binding strips as widely or narrowly as you like. Many quilters cut 2 to 2.5 inches wide. I like my strips a little wider (4 inches) so that I don’t feel like I have to pull/yank on my binding when I “bring it around to the front” of the quilt to sew it down (this will make sense later).
- Length rule. Measure the diameter of your quilt: (Length x 2) + (Width x 2) = Diameter, and then give yourself another 10-20 extra inches of binding, just to be safe. You do NOT want to run out of binding (it is not by any means the end of the world, but it is neither a pleasant nor fun experience). So for example, here my quilt length was 75 inches and my width was 62 inches. That gives me a diameter of 274 inches + 20 extra inches. Which means I need 294 inches of binding.
- What does that mean in terms cutting my fabric to make the strips? Measure the length of that fabric you are using to make your strips. Let’s say it is 80 inches long. Divide your total “length of necessary binding” (294 inches) by the length of the “binding strip fabric” (80 inches). You get 3.675. Round that up to 4. That means you should cut FOUR binding strips, each 80 inches long, to be sure that you have enough.
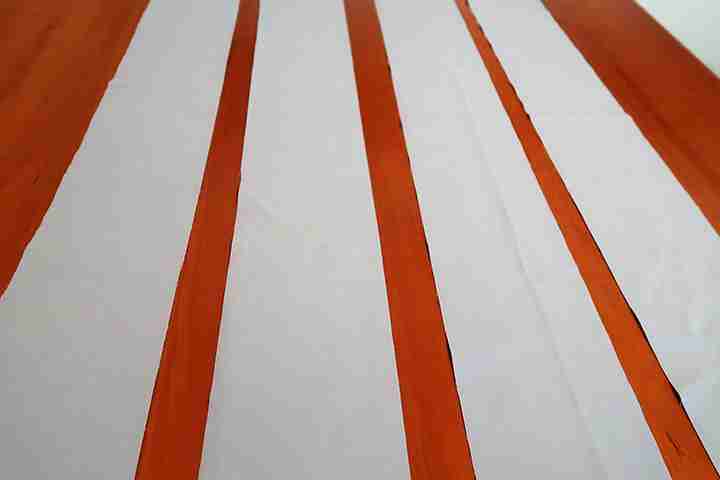
Here’s a fun shot of my binding strips. They’re very exciting to look at, aren’t they?
Full disclosure: at this point, I am going to refer you to the web or a class to really learn how to create your “attached set of binding strips” and sew them onto your quilt. Two reasons.
First, because there are several different ways to do this (front to back, back to front, etc.), and it takes several quilts experimenting with your options to figure out one that works best for you. I personally like to do “back to front.” This means I sew my binding strip around the edges of the back diameter of my quilt, fold them over, and sew them down around the entire front diameter. Like this:
Second, learning how to bind a quilt (and absorbing all the steps) is something you really need to see happening in front of you to appreciate fully. My recommendation is go on YouTube and Google “binding a quilt” or variations of same. There are hundreds of great videos that will show you all of your options.
Just keep this in mind:
- Every time you bind a quilt, you will get better. I promise.
- Yes, this is yet another opportunity to be creative, especially if you are binding your quilt from back to front. Why? Because if you are binding with your sewing machine, the machines today come with fancy stitch designs that you can use to make your quilt diameter even more beautiful.
- After you finish your binding, you may need to do some touching up around the edges – mainly on the corners and possibly on the inner surface area of your quilt. That is 100% normal.
- Check the entire surface area of your quilt to make sure you don’t have loose threads hanging.
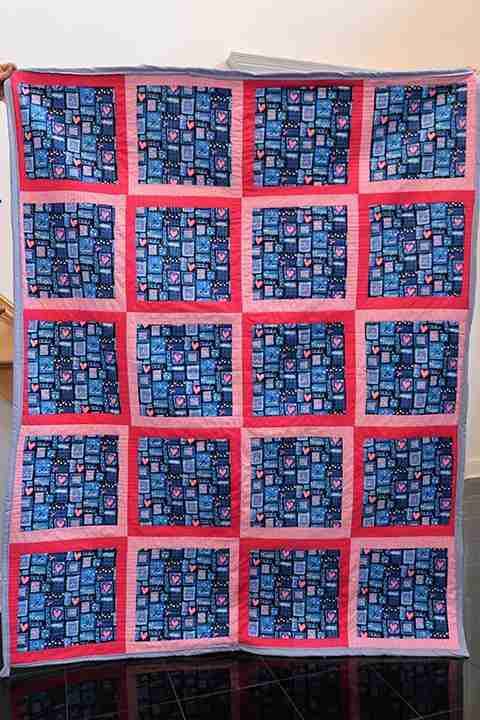
And finally, spread out your quilt and start taking pictures.

Better yet, find some tall people to hold it up for you and photograph the quilt that way. Much easier, and much better photos!
Thank you all for joining me on this journey. Hope to see everyone at the Gala on November 4th. And Happy Quilting (or whatever it is you enjoy doing that keeps your creative/inspirational side alive and well)!